
Adept
Adept Desktop Client UI Overview
Take a quick tour of the Adept Desktop Client interface and learn how to navigate the tools you use most. See how to customize the ribbon, select and work with documents, view available commands, and understand how document status and permissions affect the actions you can take.
3 min
Best For
Adept Administrator Workflow Administrator Shared Work Area Administrator Transmittal Administrator All Users
Topics
UI Overview
What You'll Learn
- Navigate the main Adept Desktop Client interface
- Customize the ribbon for different user needs
- Select individual, multiple, or ranges of documents
- Understand which document commands are available
- See how document status and permissions affect available actions
ADEPT ACADEMY
Unlock this video
Complete this short form once for unlimited access to Adept Academy videos.
Video Transcript
Within Adept, you'll see all system tabs showing in the ribbon. If you customize the ribbon — maybe remove some tabs — that's useful for users who only need to search, view, or print. They don't need every button in the desktop client. You can choose to show just a few tabs and only the commands they need. To show all system tabs, that option is on the right. This also shows you who you're logged in as. If you're an administrator, you might be logged in as ADM — that's the System Administrator login. It's a golden login — it never gets deleted. It's always there as part of the product installation.
You can log in as the System Administrator, or use your own login for single sign-on. In this demonstration, I am logged in with the system administrator profile. So we'll see two extra tabs at the top. And you'll see your own login name down here — not "System Administrator." On the right side, after you run a search, you'll see how many documents came back.
No matter which search you use, it always shows the result count. If you're browsing and click on a library or sub-library, this area shows how many documents are in it. If the list is longer than your window, you'll get a scroll bar on the right, plus the count here. This is handy because you can select all documents at once if you want to work with them — for example, if you want to check them out. But maybe you don't want to check out 98 documents. In that case, just select individual ones by holding Control and left-clicking.
You can also use the Shift key to select a range, just like in Windows. [Pause]Now here's the right-click menu. Whatever documents you select, right-click and you'll see available commands in dark text. Commands you can't use on the selected document will be grayed out. That could be situational, or it might mean you don't have access or rights for those commands. For example, if you don't have checkout rights, that option won't appear when you select a document.
You might wonder why you see checkout but not check-in. If the document is already in the library, you can't check it in because it's not checked out. Once you check the document out, check-in becomes active so you can bring it back in — and checkout will no longer be active for that document.
These options adjust automatically based on the document and its status. [Pause]There's more to cover about the document dashboard and these commands — including some of the other details shown here. Separate videos will cover those topics.
You can log in as the System Administrator, or use your own login for single sign-on. In this demonstration, I am logged in with the system administrator profile. So we'll see two extra tabs at the top. And you'll see your own login name down here — not "System Administrator." On the right side, after you run a search, you'll see how many documents came back.
No matter which search you use, it always shows the result count. If you're browsing and click on a library or sub-library, this area shows how many documents are in it. If the list is longer than your window, you'll get a scroll bar on the right, plus the count here. This is handy because you can select all documents at once if you want to work with them — for example, if you want to check them out. But maybe you don't want to check out 98 documents. In that case, just select individual ones by holding Control and left-clicking.
You can also use the Shift key to select a range, just like in Windows. [Pause]Now here's the right-click menu. Whatever documents you select, right-click and you'll see available commands in dark text. Commands you can't use on the selected document will be grayed out. That could be situational, or it might mean you don't have access or rights for those commands. For example, if you don't have checkout rights, that option won't appear when you select a document.
You might wonder why you see checkout but not check-in. If the document is already in the library, you can't check it in because it's not checked out. Once you check the document out, check-in becomes active so you can bring it back in — and checkout will no longer be active for that document.
These options adjust automatically based on the document and its status. [Pause]There's more to cover about the document dashboard and these commands — including some of the other details shown here. Separate videos will cover those topics.
KEEP LEARNING
Continue Learning
Explore more Adept Academy videos.

7 min
Configuring CAD Data Extractions
Watch Video →
8 min
Importing Active Directory Groups
Watch Video →
7 min
Disabling vs Deleting Adept Users
Watch Video →
5 min
Document Dashboard
Watch Video →
9 min
Creating and Managing Adept Fields
Watch Video →
9 min
Adept Pre-Installation Checklist Walkthrough
Watch Video →
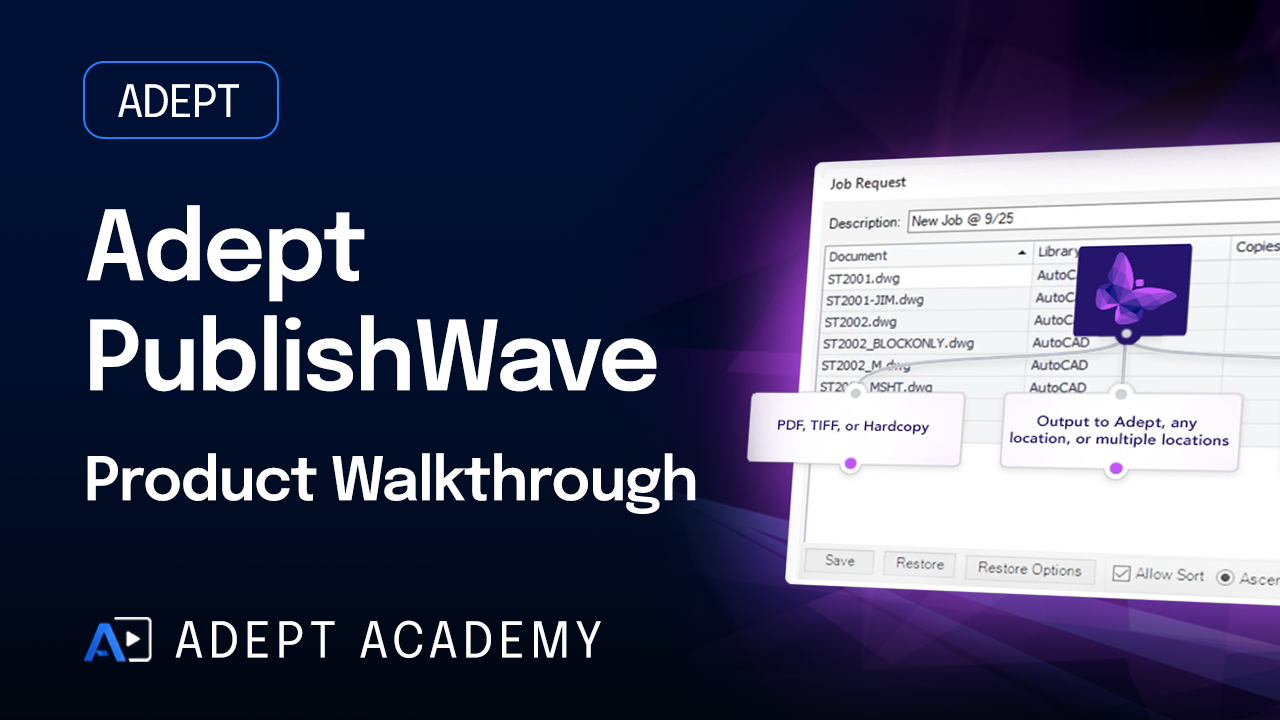
9 min
Adept PublishWave Product Overview
Watch Video →
9 min
Adept Server Deployment Requirements Guide
Watch Video →
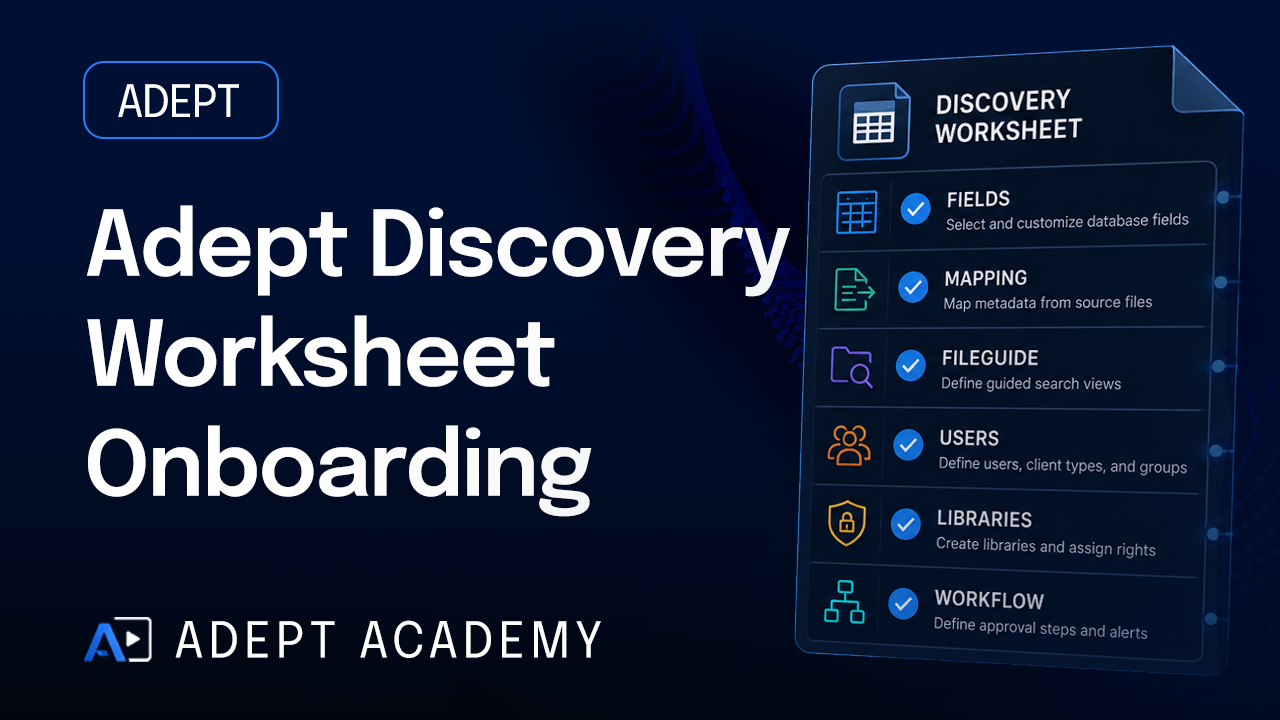
7 min